
Attachment, use, and warranty
Attaching a Premium quality panel to the wall with the flat suspension
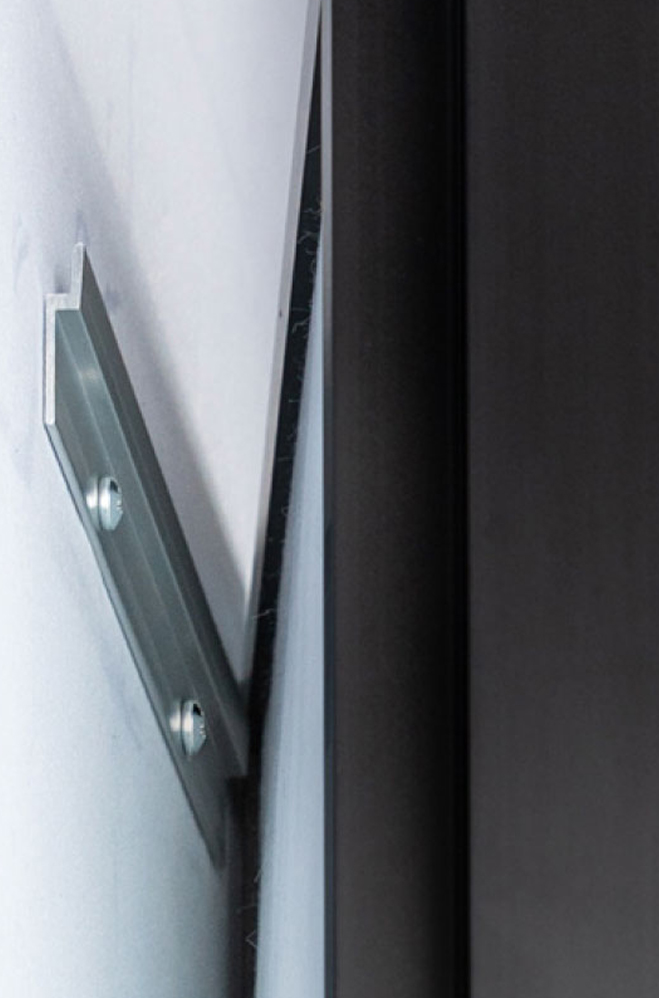
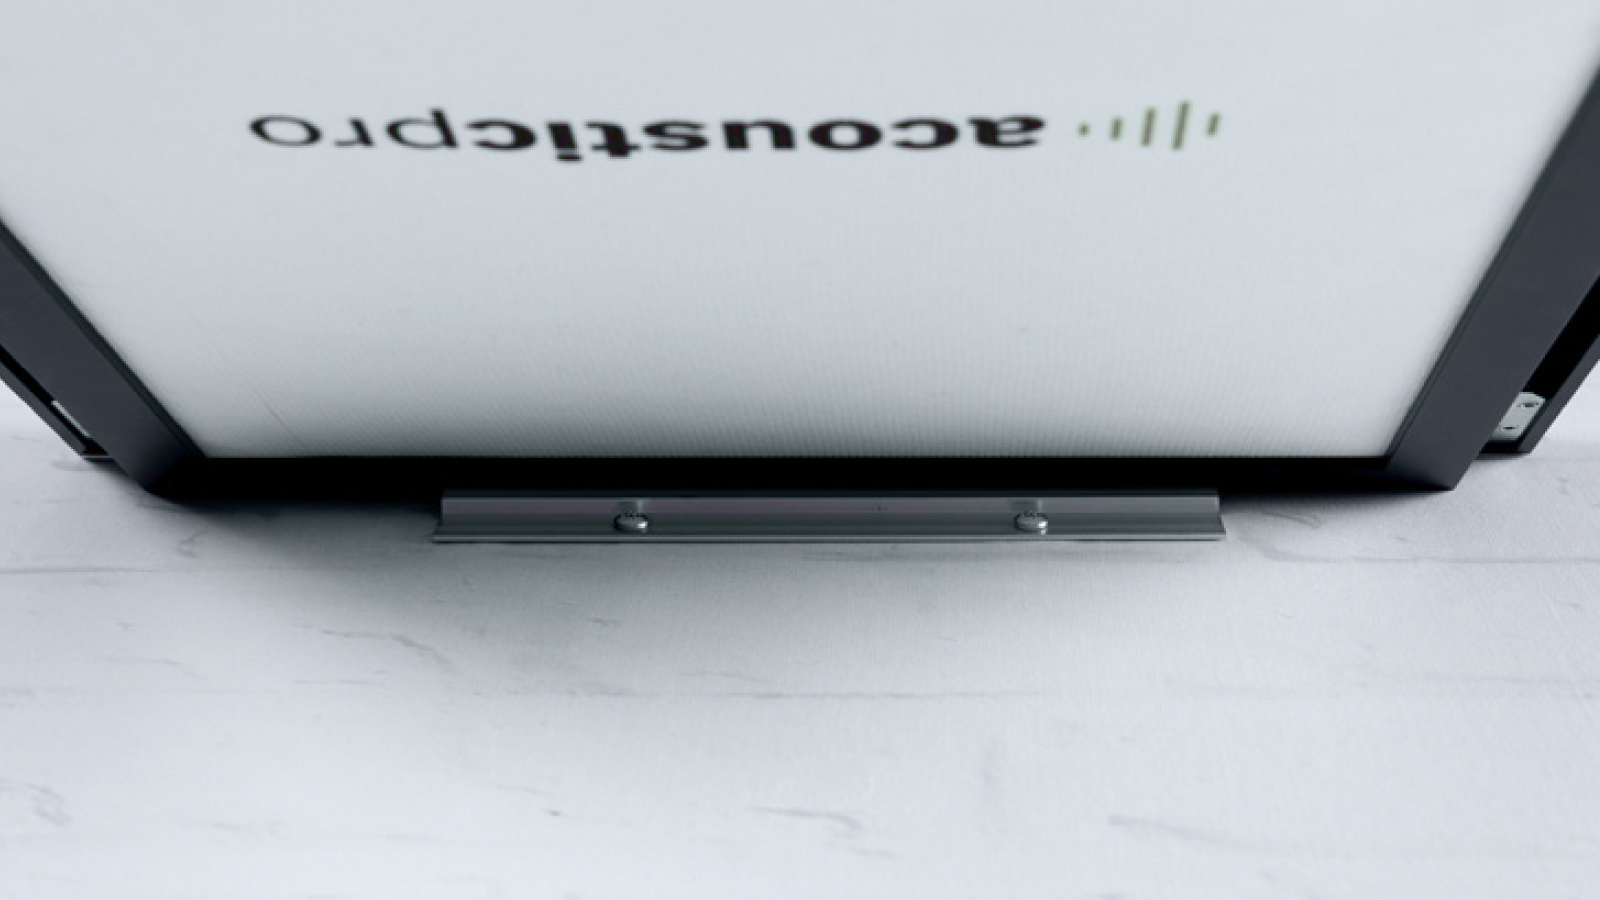
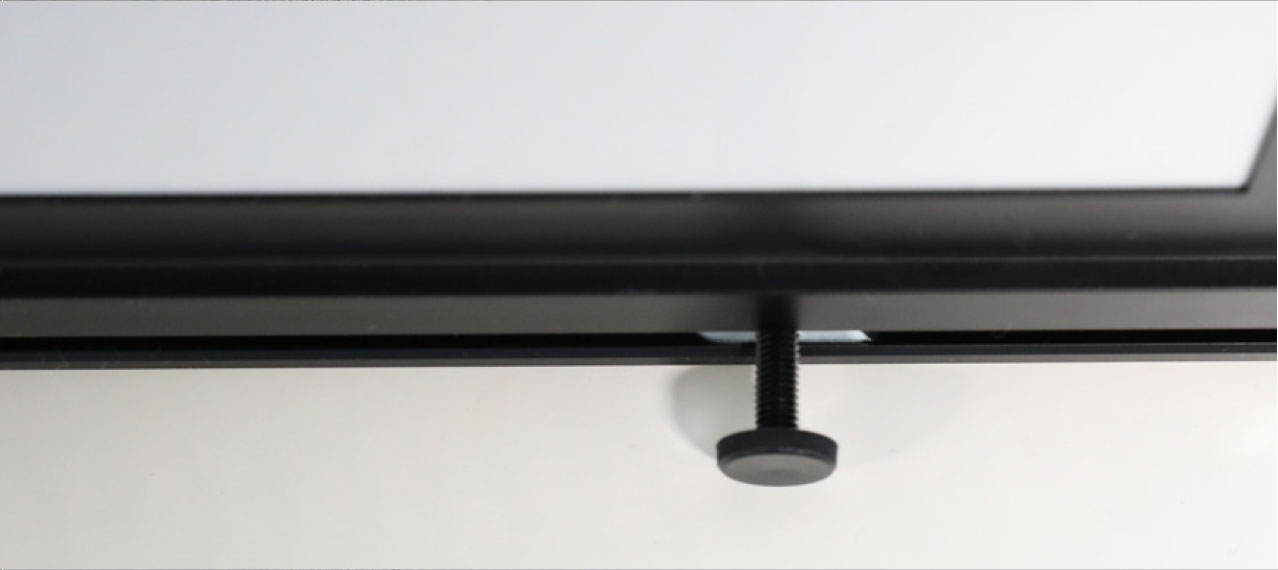
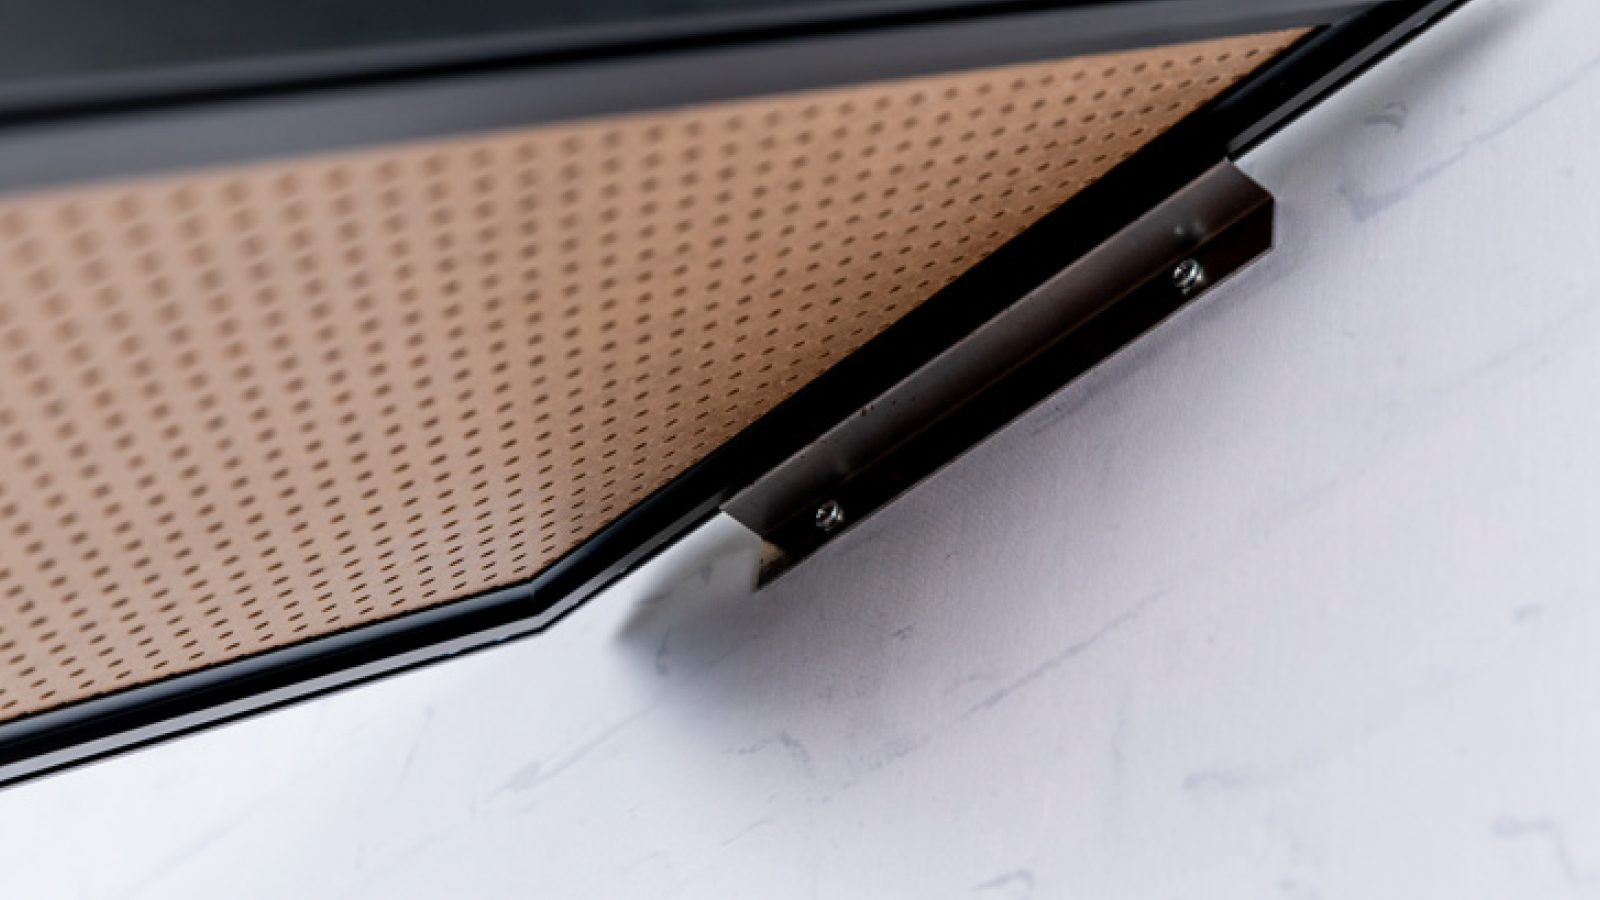
Premium Quality panels are delivered including a flat suspension system (see photo below). This is a different suspension system than the Z-profile that comes standard with the basic panel, because the premium panel has no space between the frame and the wall.
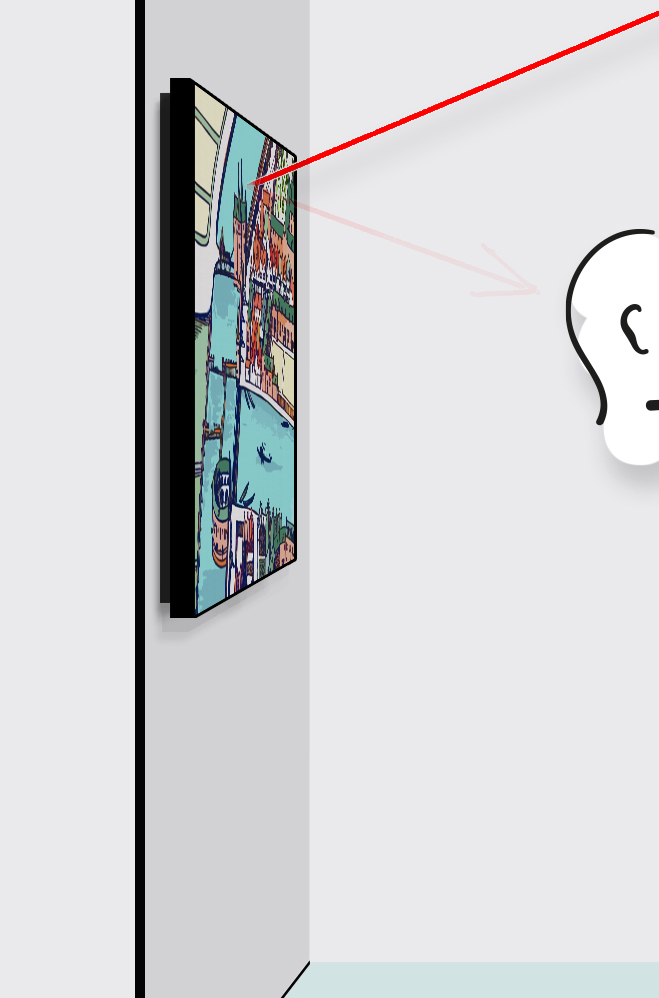
The space that the Premium Quality panels have, is filled with acoustic materials for extra reverb reduction, to reach the optimal absorption value of 0.9.
Step by step guide for attaching a Premium quality panel with the suspension profile
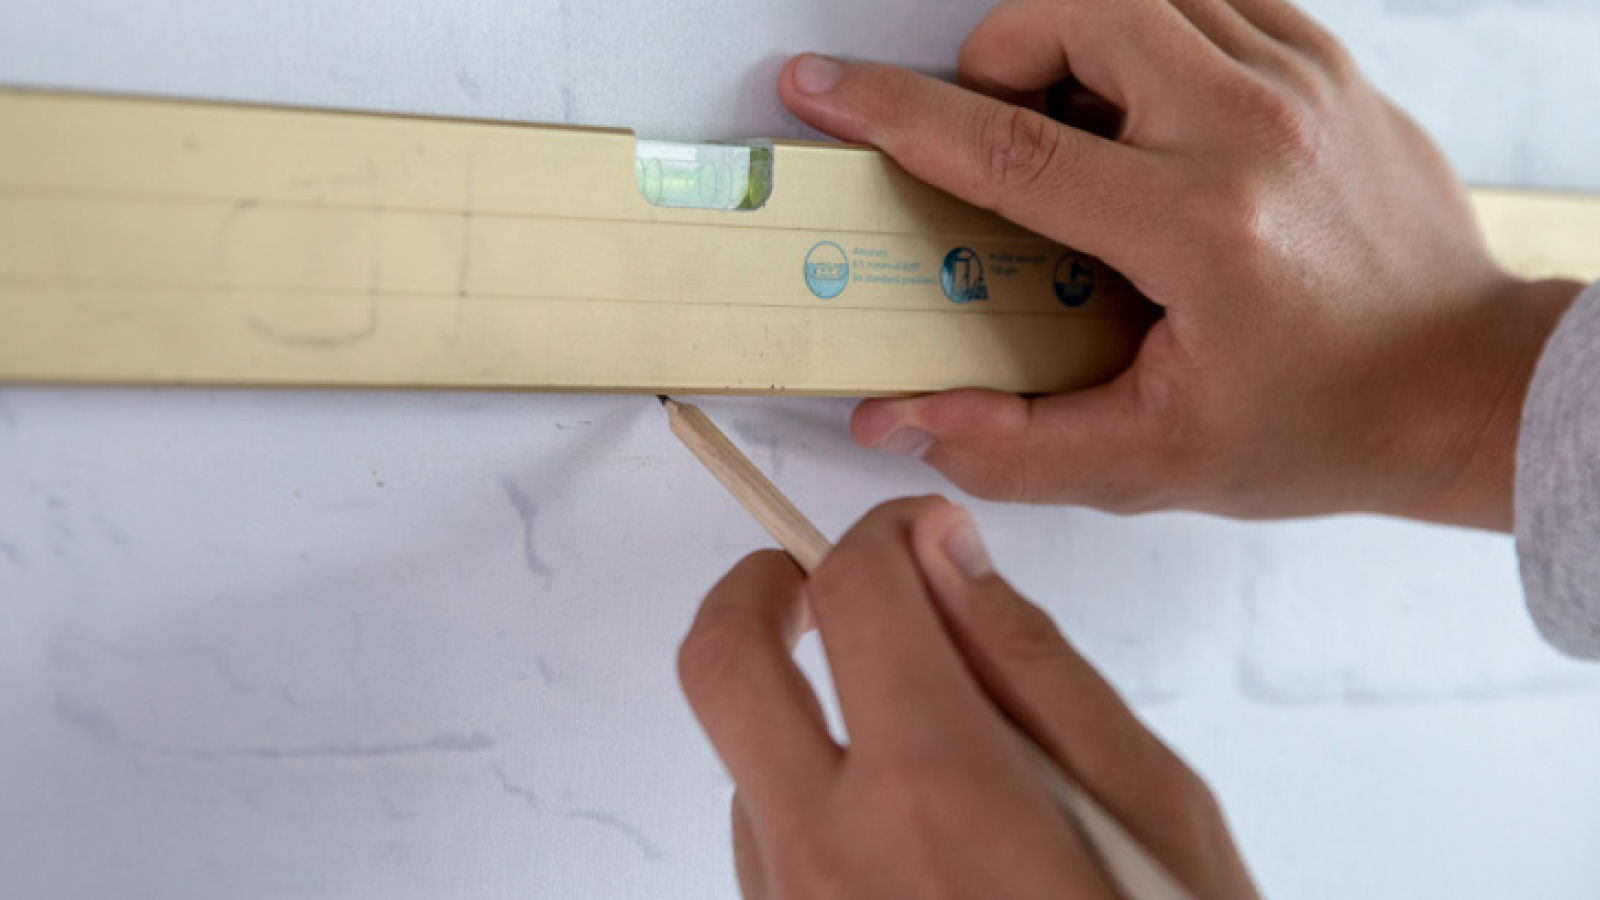
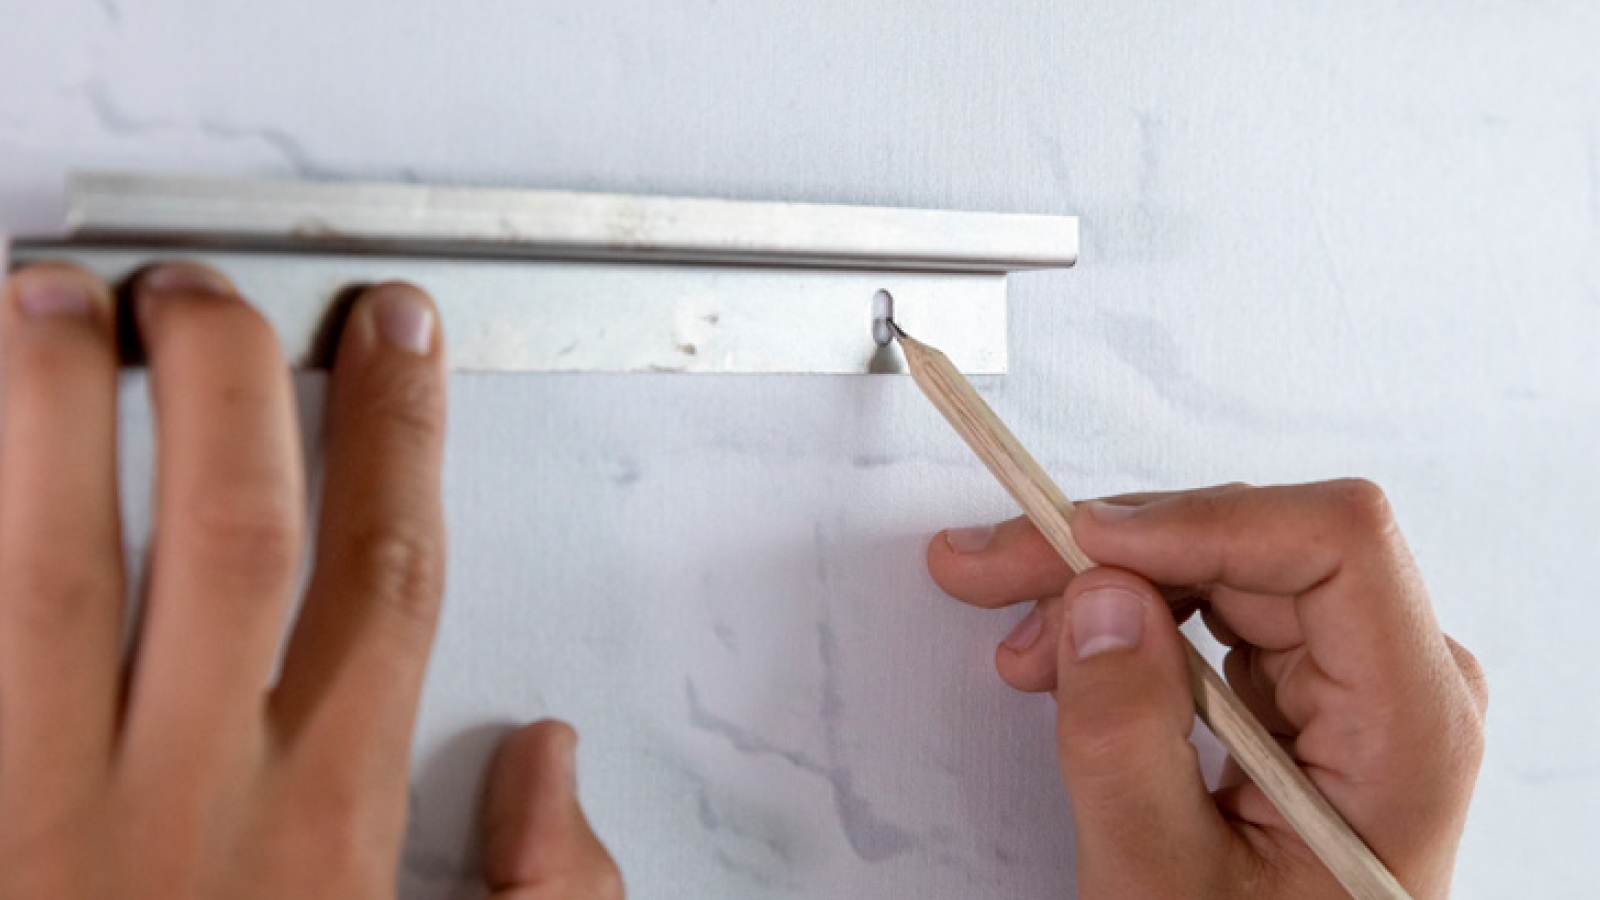
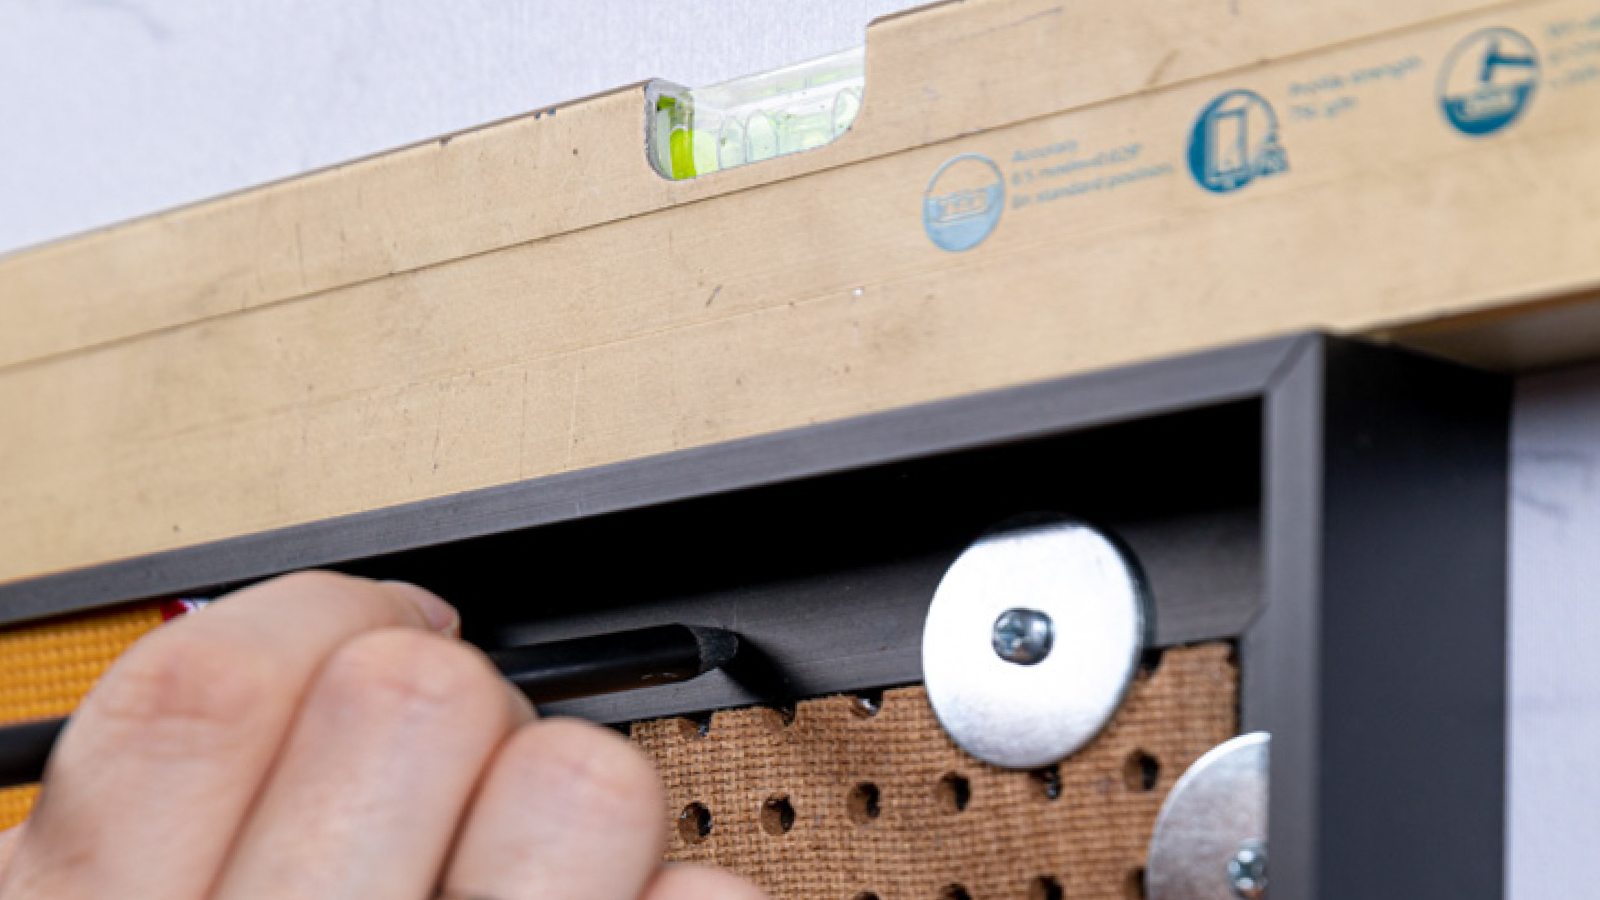
Step 1: Measure and mark
Measure the place on the wall where the suspension profile will be hanged with a water level and mark this with a pencil.
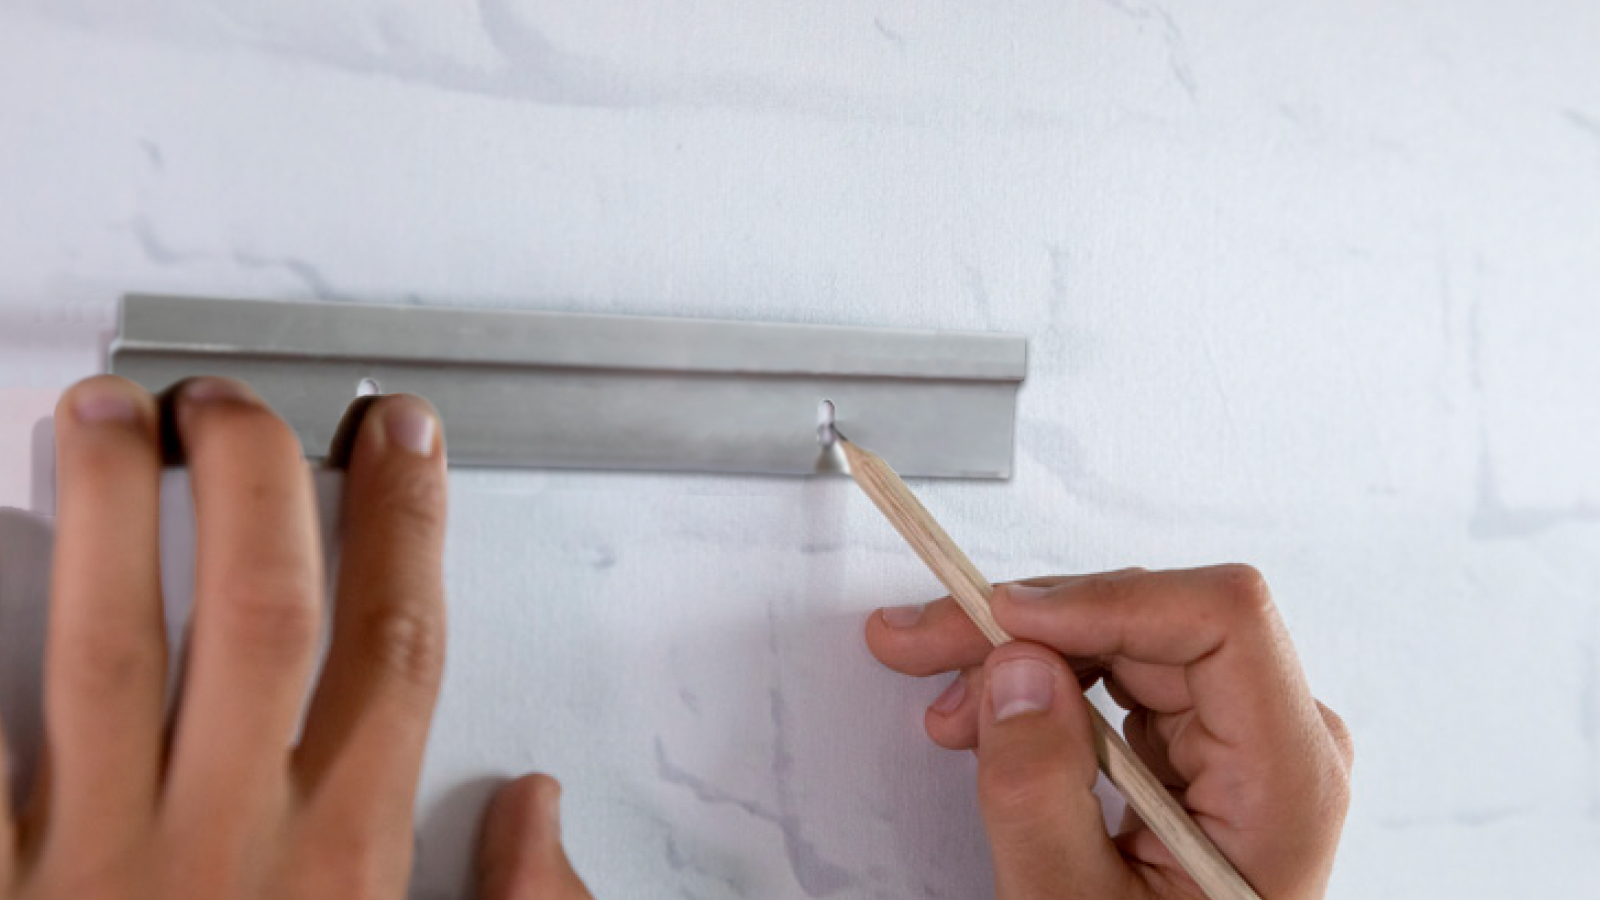
Step 2: Mark the drill holes
Use a pencil to mark the position of the two drill holes in the suspension profile on the wall.
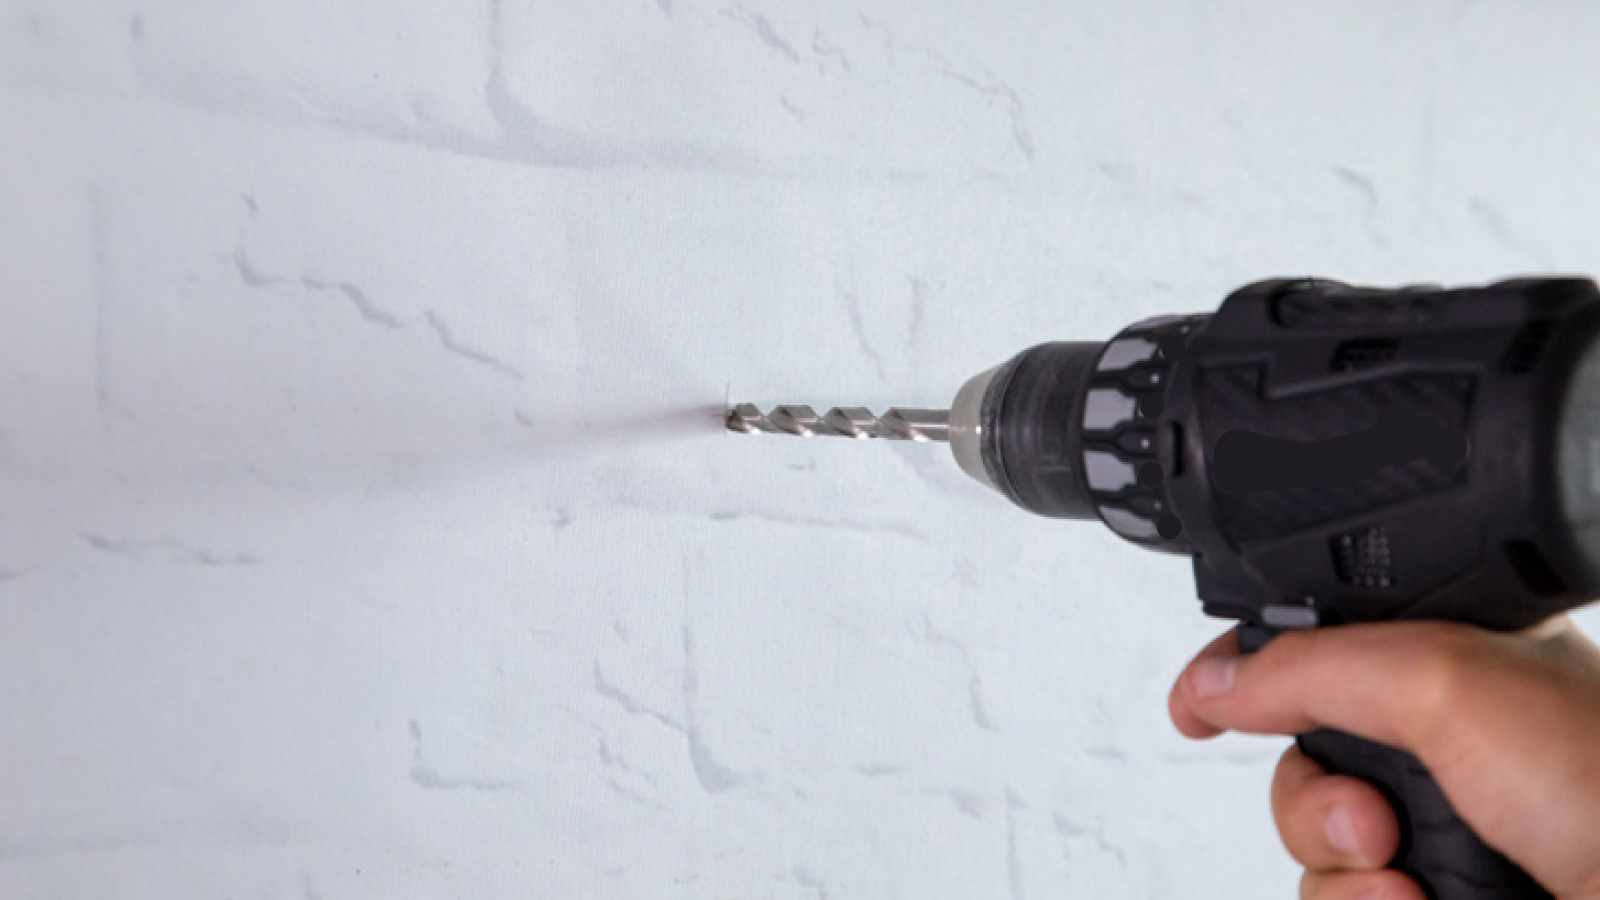
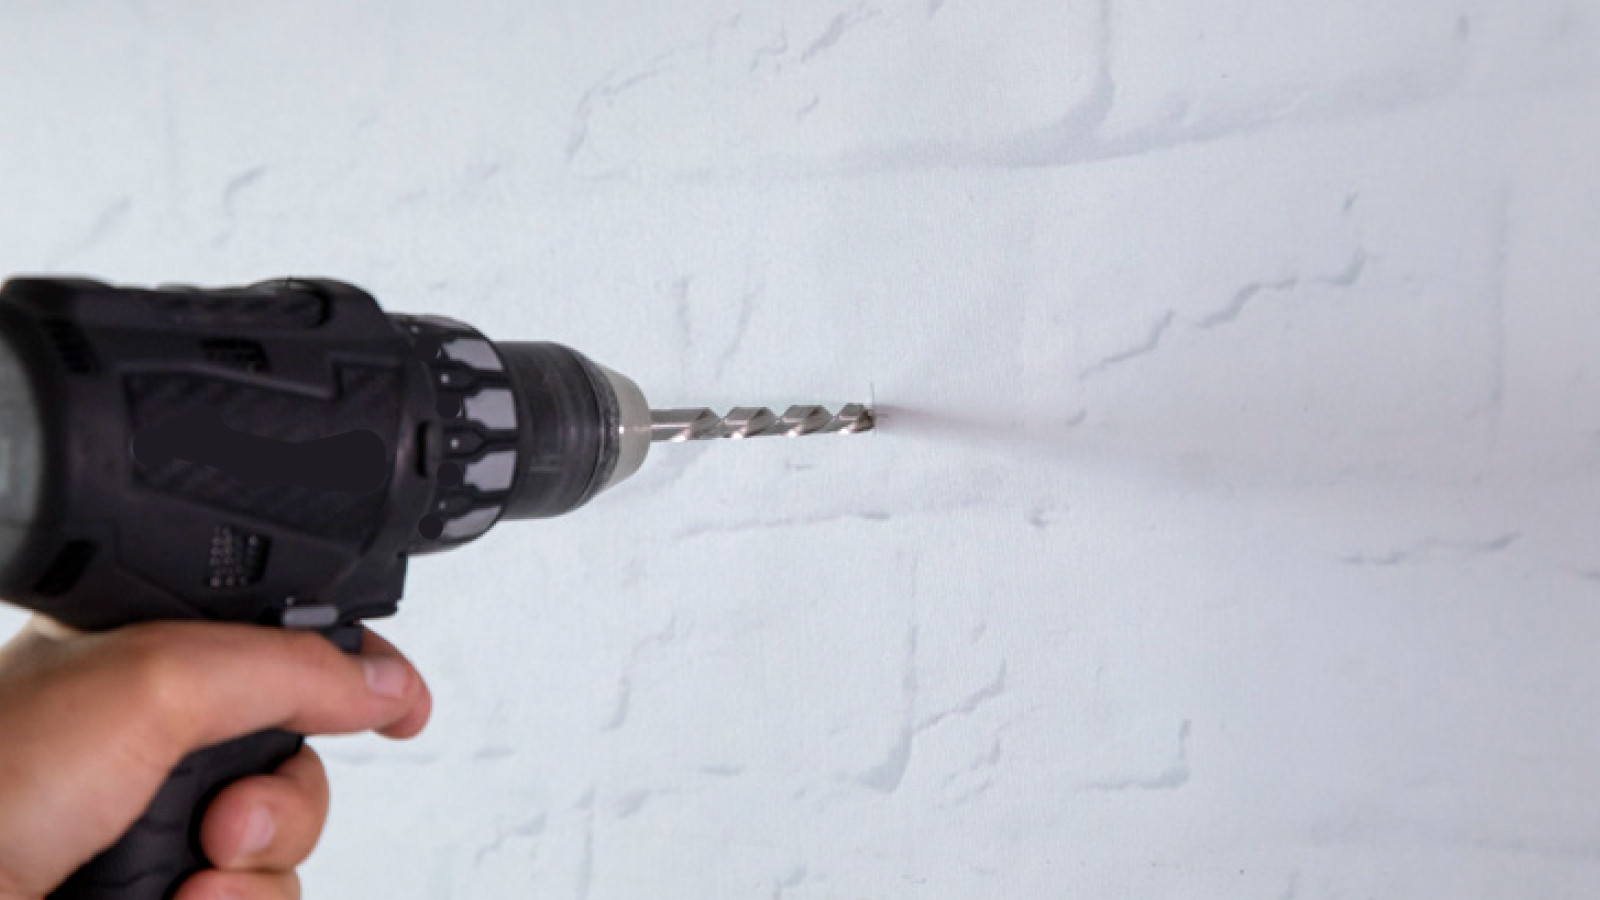
Step 3: Drill the holes
Then drill the holes with a drill. Use the drill that matches the type of plug. Which screws and plugs you need depends on the type of wall.
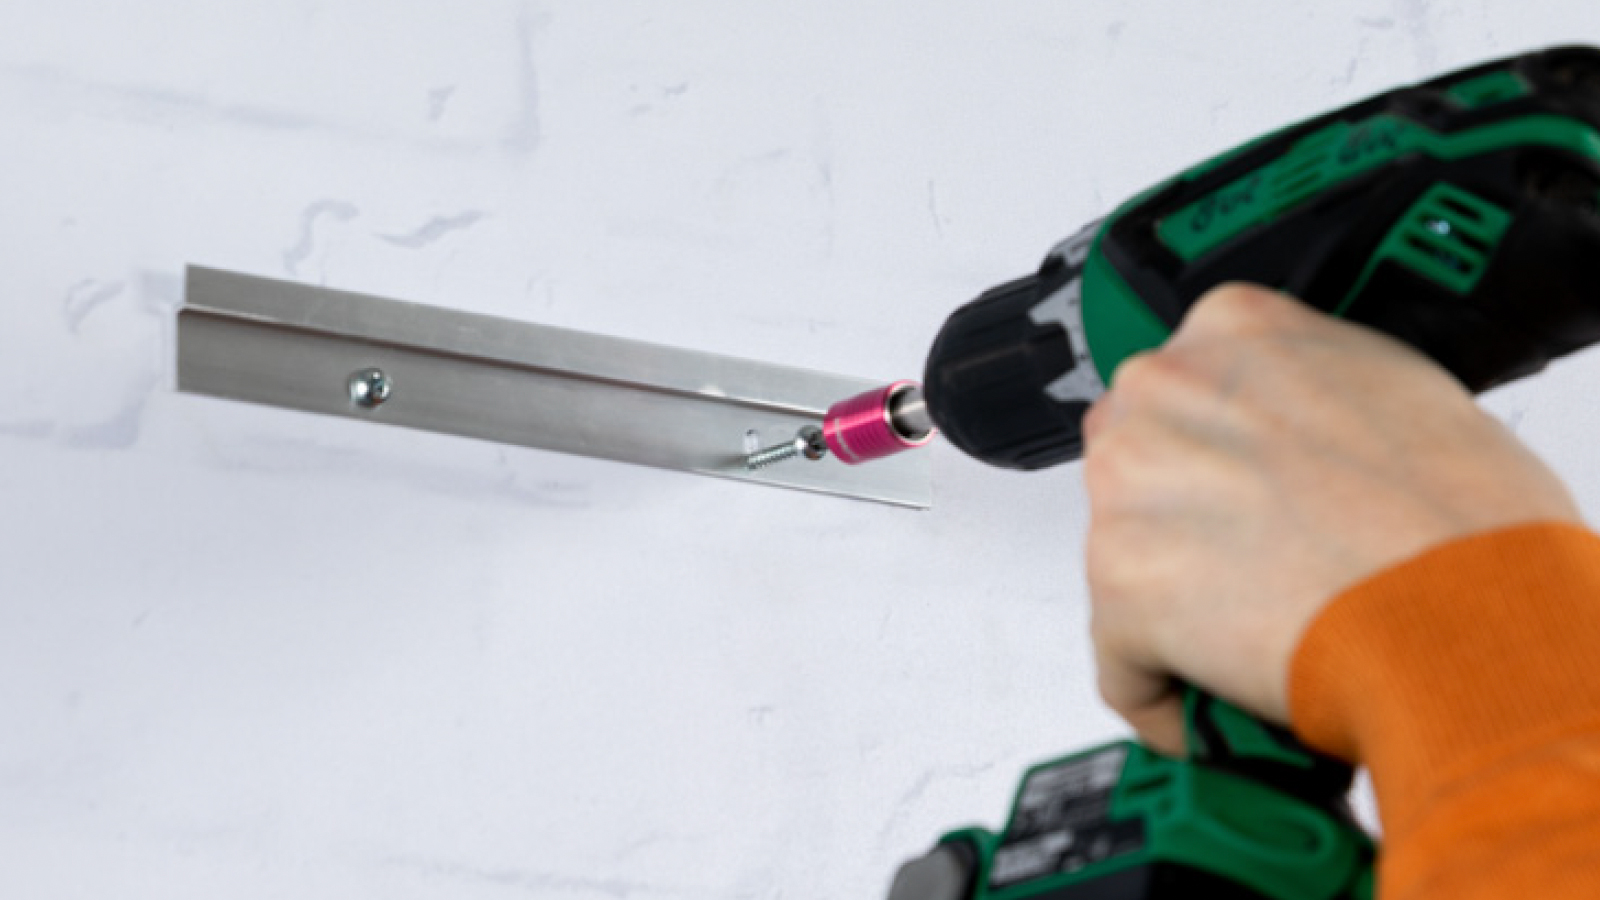
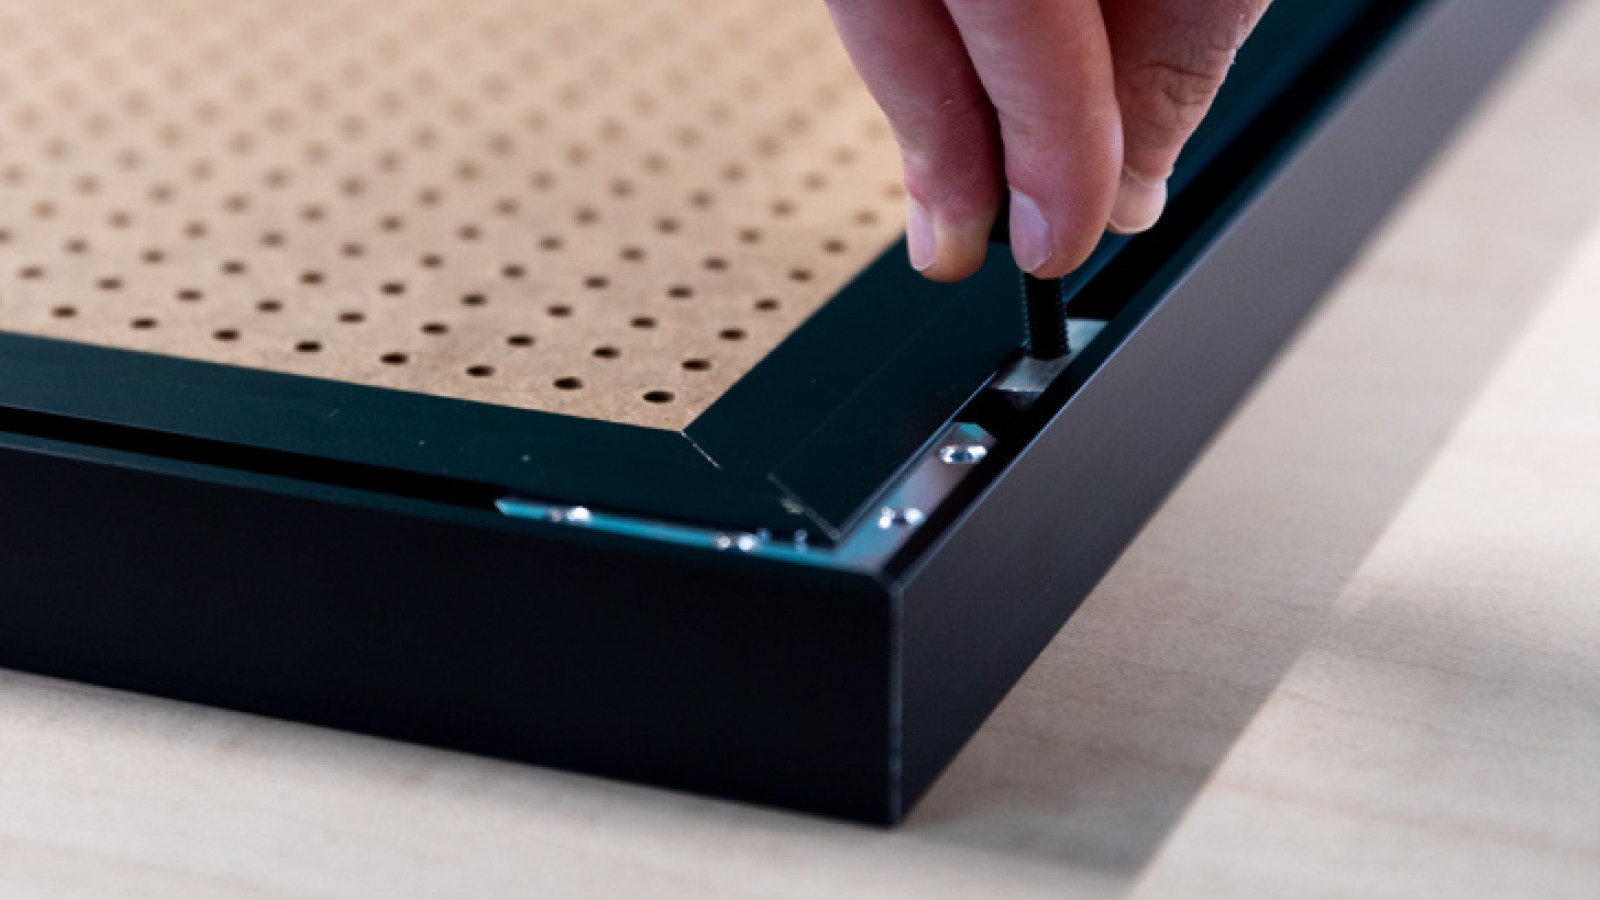
Step 4: Push plugs in and screw the profile in
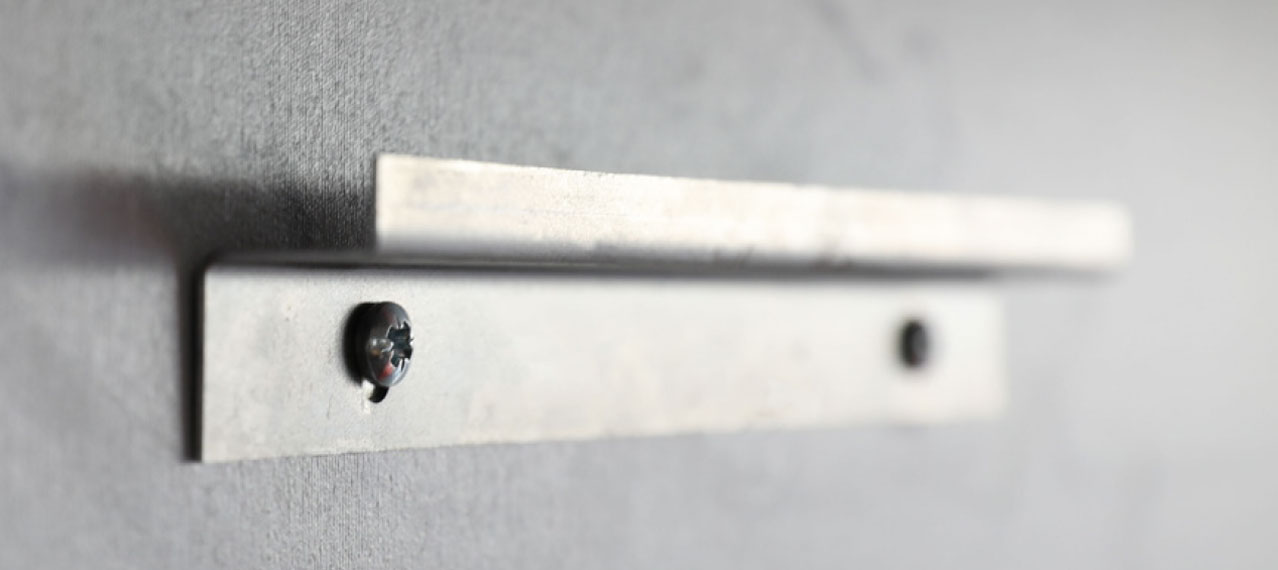
Then push a plug into each drill hole and screw the suspension profile to the wall.
Step 5: Hang the panel
Finally, you hang the panel on the suspension profile.
Attaching a Basic quality panel with the Z-profile and spacers
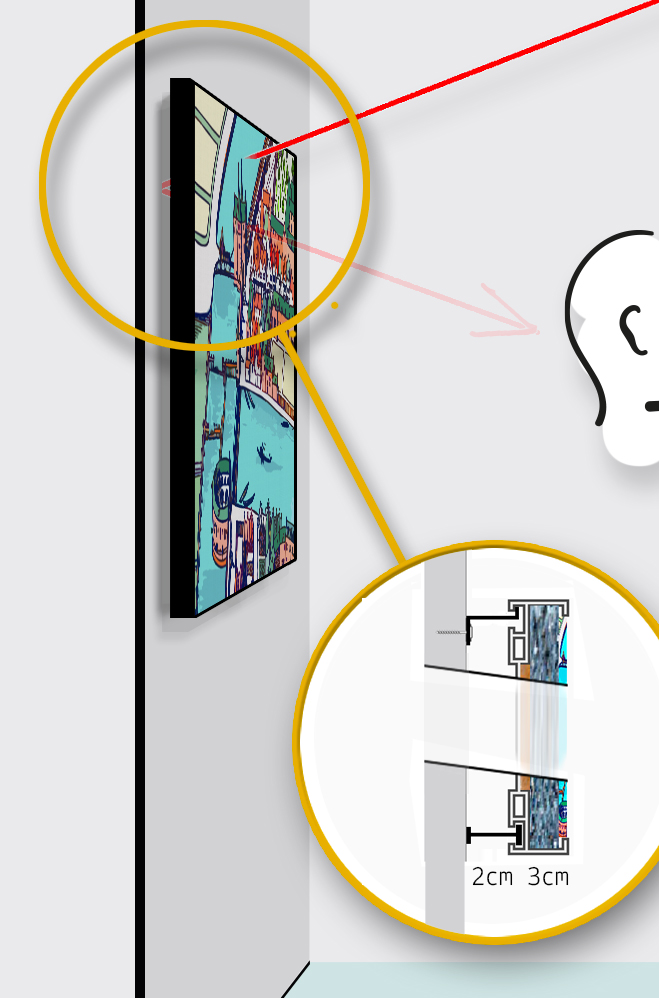
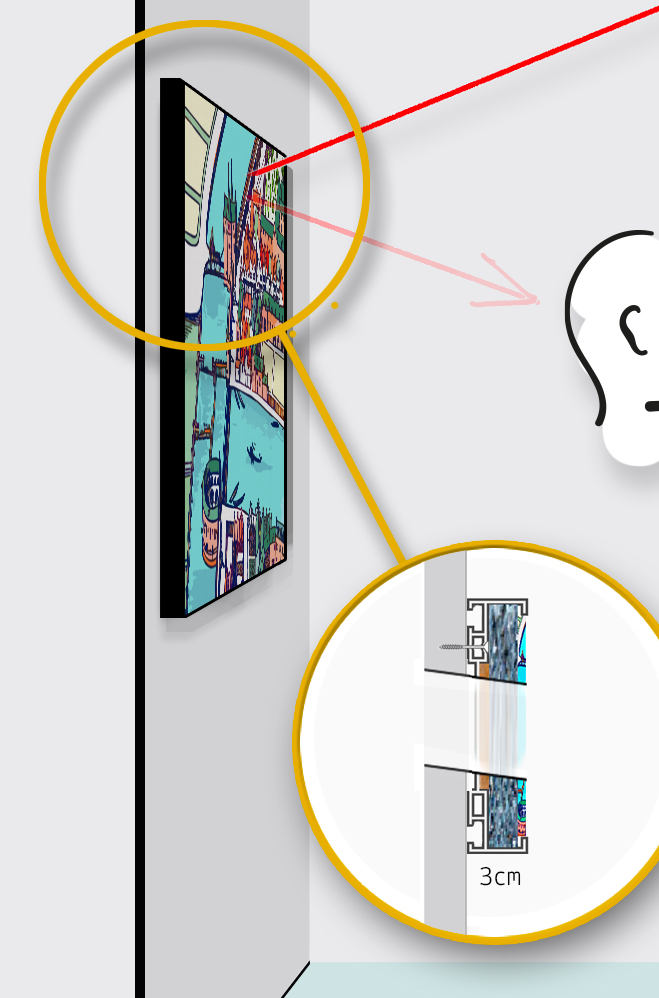
We deliver Basic Quality panels with the attachement that optimizes reverb reduction to the absorption value of 0.65. With the Basic panel you receive one or more Z-profiles, depending on the size of the panel (automatically calculated). Also included are the spacers to ensure a cavity of 2cm between the wall and the panel.
With the Z-profile and spacers, you can attach the Basic panel to the wall the way this panel is designed to function (2cm from the wall).
Step by step guide for attaching a Basic quality panel with the Z-profile and distance keepers
Step 1: Measure and mark
Measure the spot on the wall where the z-profile will hang with a spirit level and mark this spot with a pencil.

Step 2: Mark the drill holes
Use a pencil to mark the position of the two drill holes in the z-profile on the wall.
Step 3: Drill the holes
Then drill the holes with a drill. Use the drill that matches the type of plug. Which screws and plugs you need depends on the type of wall.

Step 4: Screw the Z-profile to the wall
Then push a plug into each drill hole and screw the Z-profile to the wall.

Step 5: Place the spacers
To create distance at the bottom, you receive a set of spacers with the Acoustic panel. You can easily rotate these in the frame.
Step 6: Hang the panel
Finally, you hang the panel on the Z-profile.
Attaching a Basic quality panel with screws
If you rather hang the panel directly to the wall and leave the attachment system out, you can select that option. The attachement system will in that case not be delivered with the panel (also no screws). The absorption value will be lower. See the illustration below of both options.
Step by step guide for attaching a Basic quality panel with screws (without the Z-profile and spacers)
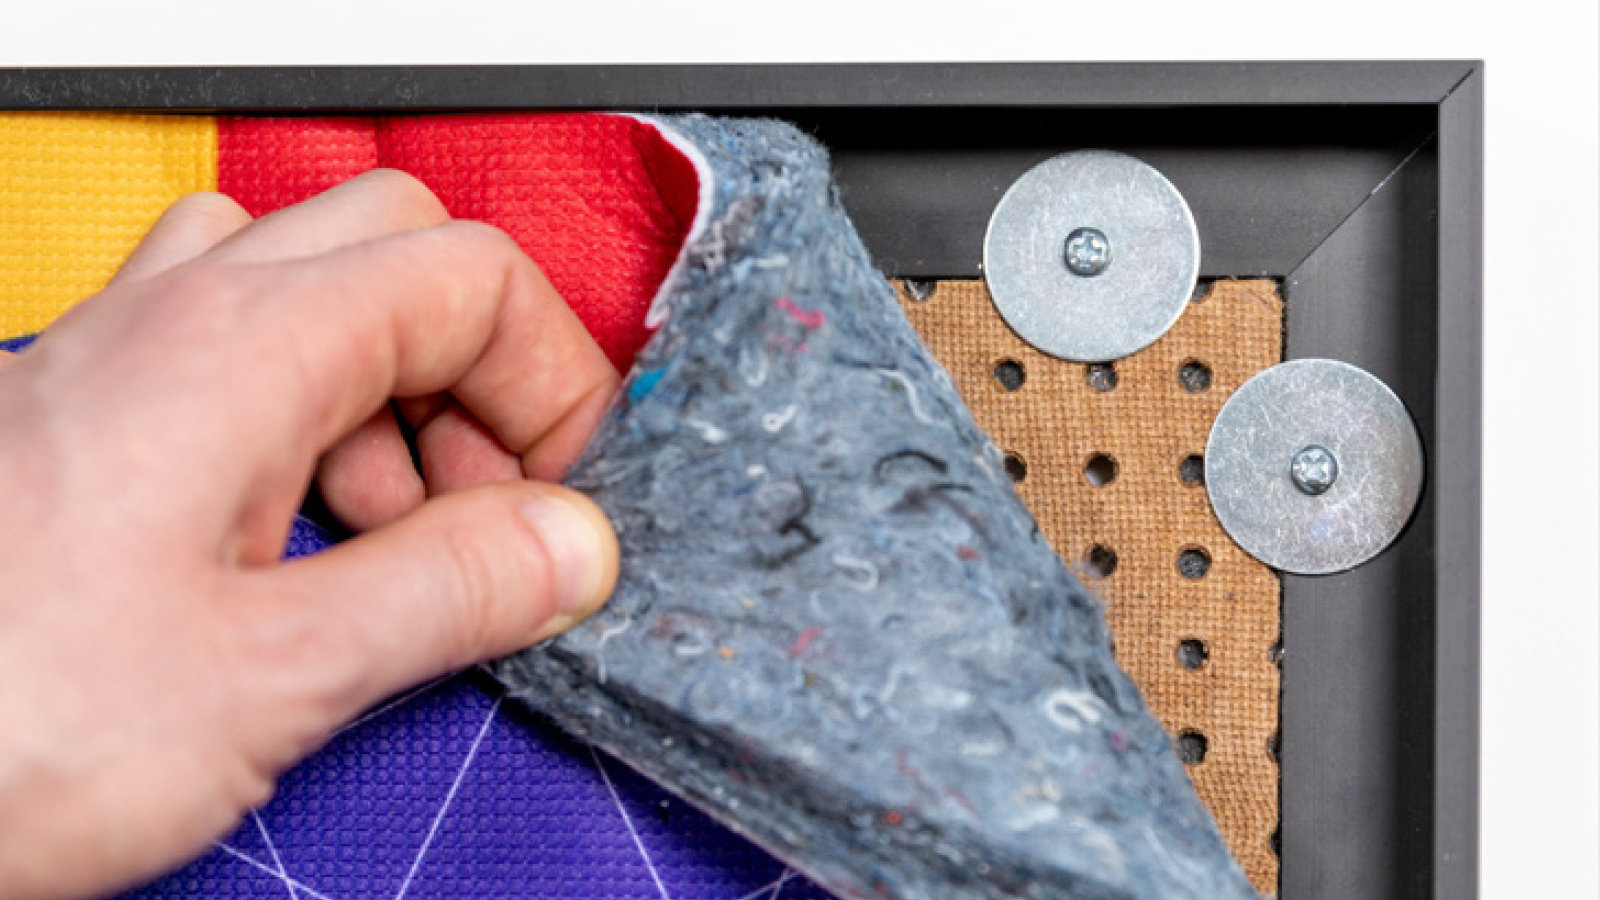
Step 1: Pull up a small piece of acoustic material
Pull up a small piece of the acoustic material from the frame where you want to attach the frame.
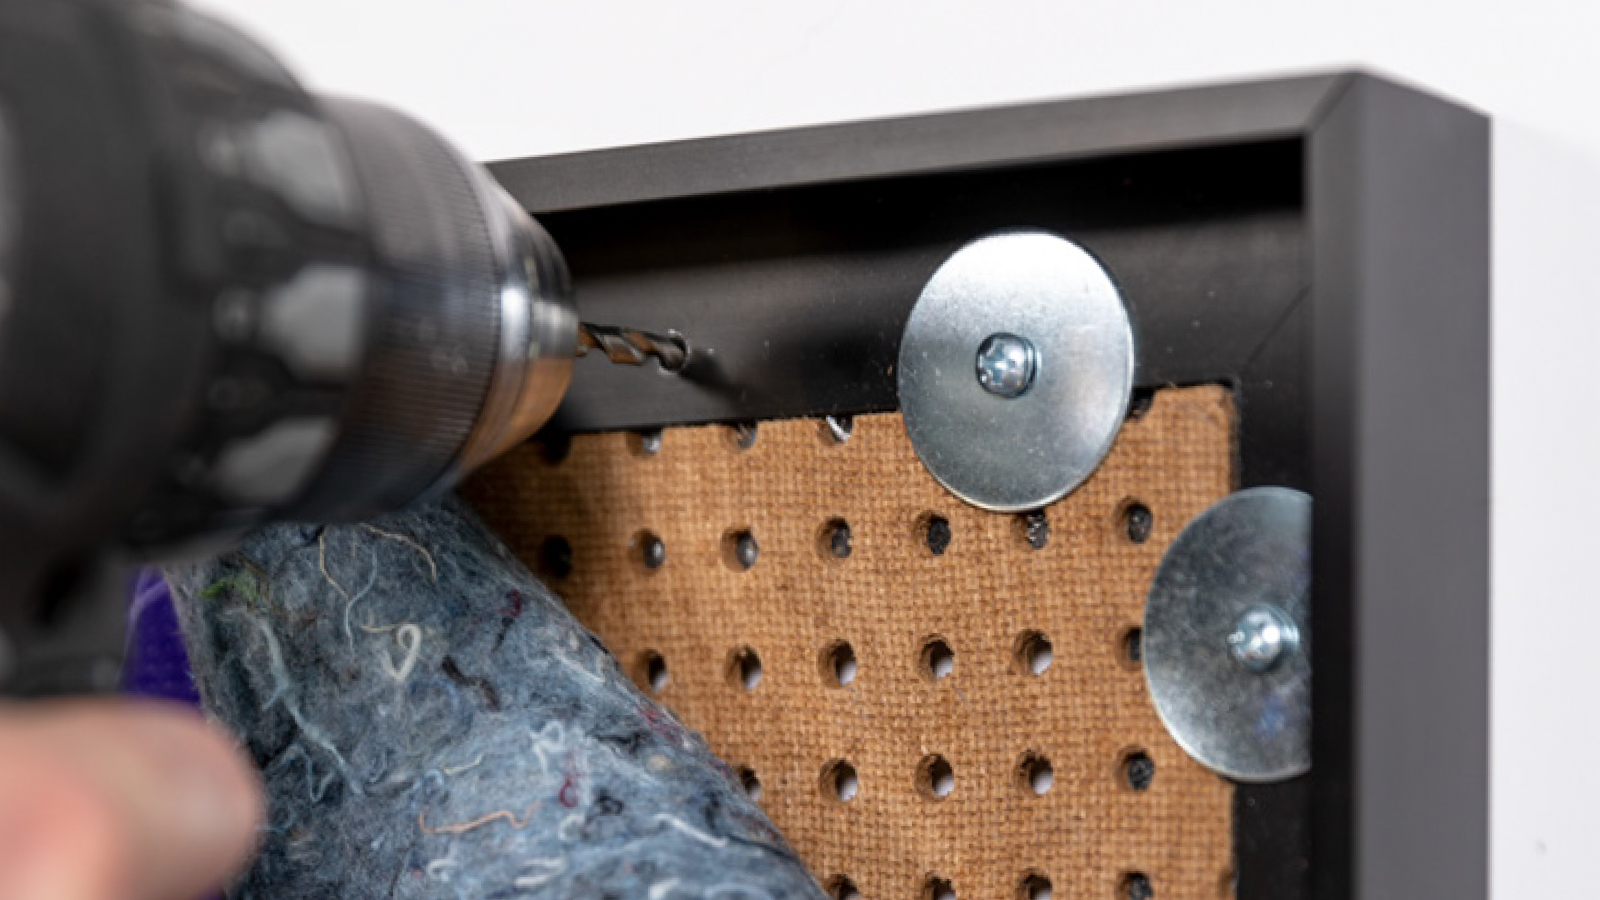
Step 2: Drill through the frame
You mount the frame directly on the wall with screws. For this you have to drill through the frame. Use a 4mm metal drill bit and allow approximately one hole every meter. This prevents the frame from sagging.
Step 3: Draw holes on the wall
Then use a pencil and water level to draw the holes on the wall in the pre-drilled holes in the frame.
Step 4: Drill holes in the wall
Then drill the holes with a drill. Then push a plug in each
borehole. Which plugs you need depends on the type of wall.
Step 5: Fix the panel with screws
You can now fix the panel to the wall with screws. Choose the screws that match the type of plug. This job is best done with two people.

Step 6: Push back the acoustic material
Then push the acoustic material back into the frame.
Use
How do I maintain my AcousticPro panel?
You can make the frame dust-free with a microfibre cloth. Use a brush head and vacuum cleaner for the acoustic material. Note: this is only suitable with a brush shape.
I have creases/folds/dents in my AcousticPro panel. What now?
You can easily remove creases, creases and dents in the acoustic material by ironing over it with an iron on the wool setting.
My back plate is damaged. What now?
It’s okay if there are scratches on the back plate. Even small cracks or holes do not reduce the function of the panel.
Warranty
Our artworks are carefully checked and packed for shipment. If an artwork is delivered damaged, this must be reported to us within 14 days of delivery in order to qualify for a guarantee. Always look carefully to see if the packaging is damaged and in this case contact us directly. We then deal with the damage with our carrier / insurer and we will send you a new one.
The warranty on artworks is 1 year. We offer this warranty only with normal use of the artwork. The guarantee does not apply to damage to the artwork by you and / or third parties due to accidents and / or improper use. If you have damage to your artwork, we will inspect it further and decide whether we will have the work corrected or completely replaced. Please contact us if you have any further questions regarding our guarantee.